 PlaceBee
Introduction
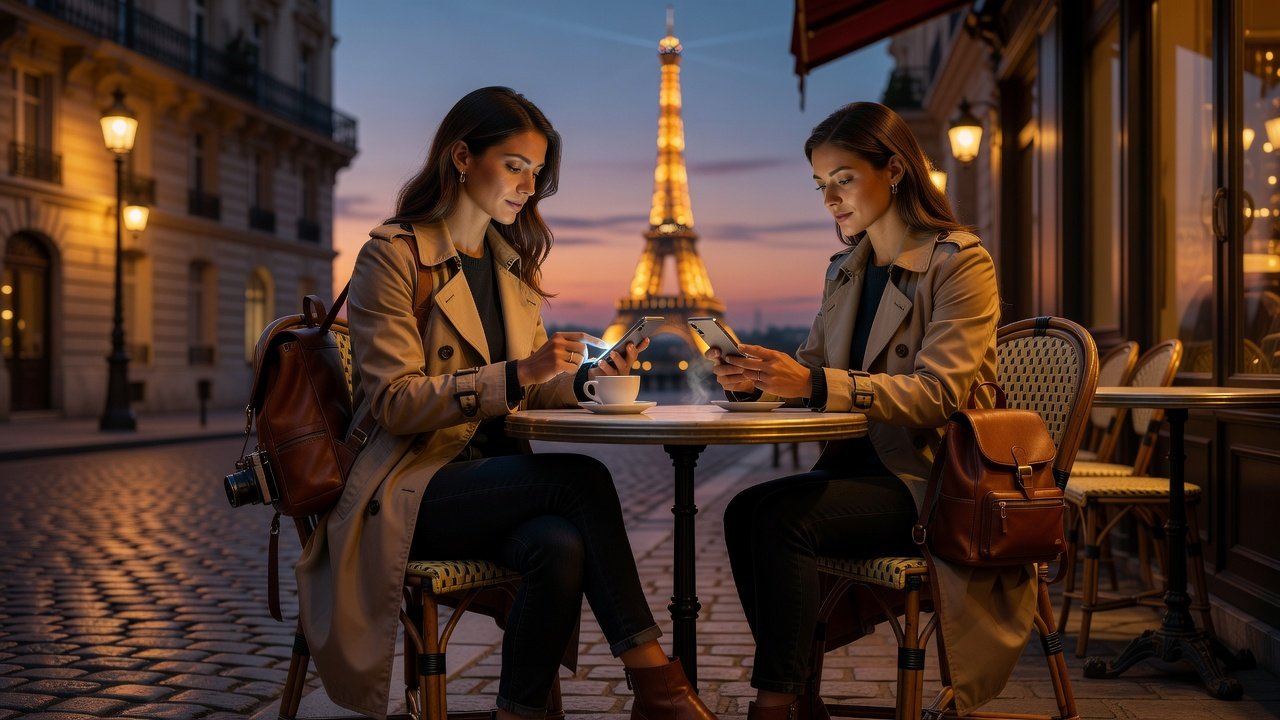
Travel photography in 2026 demands efficient mobile workflows that keep you exploring rather than tethered to a laptop. Post-capture editing on smartphones transforms raw shots from bustling streets into polished memories ready for sharing or printing. This guide covers practical sequences using popular apps, destination-specific color grading, batch techniques, tool comparisons, and export best practices. Whether you are capturing neon-lit alleys in Tokyo or romantic boulevards in Paris, mastering these mobile techniques ensures your images stand out on social platforms and in print albums alike. The focus remains strictly on post-capture processes that fit seamlessly into any itinerary without requiring heavy gear or hours of downtime.
Organizing Photos on the Go: A Practical Checklist
Effective editing starts with organization. Use these steps during your trip to stay ahead of thousands of images that accumulate quickly on multi-week journeys. First, import images daily into a dedicated folder or album in your phone's gallery app or a dedicated organizer like Google Photos. Apply quick star ratings or flags while memories are fresh so you can prioritize keepers later. Delete obvious duplicates and out-of-focus shots immediately to free storage space and reduce decision fatigue. Group images by location or day using albums or tags for fast retrieval during editing sessions. Sync to cloud storage automatically when on Wi-Fi to create an off-device safety net. Finally, maintain a simple naming convention such as YYYY-MM-DD-City to make searching effortless weeks after you return home. Following this routine prevents overwhelm and speeds up later editing sessions by ensuring only the strongest candidates reach your editing queue.
Backup Routines That Protect Memories
Never rely on a single device during travel. Enable automatic cloud backups to services like Google Photos or Adobe Cloud at the end of each day so files upload while you sleep. Carry a portable SSD for manual copies during long flights or when connectivity fails, then verify the transfer before deleting anything from your phone. Test restores occasionally so you know files remain intact and accessible. Schedule weekly full-library checks using your hotel Wi-Fi to confirm everything has synced correctly. These habits safeguard images without interrupting your itinerary and give peace of mind when exploring remote areas where data signals are unreliable.
Popular Mobile Editing Apps Compared
Free options like Snapseed deliver powerful selective edits, healing tools, and curves adjustments that rival desktop software for most travel needs. Paid apps such as Lightroom Mobile add advanced masking, custom presets, and seamless cloud syncing across phone and tablet that justify the subscription for serious creators. VSCO emphasizes creative filters while offering strong basic adjustments and community inspiration. Apple Photos provides built-in tools that integrate deeply with iOS devices for users who prefer zero additional downloads. Compare these based on your typical editing depth, desired output volume, and whether you need cross-platform access during extended trips.
Step-by-Step Editing Sequences
Begin every session with exposure and contrast corrections to establish a balanced foundation before touching color. Next, adjust white balance for natural tones that reflect the actual lighting conditions at each destination. Apply local adjustments to skies, subjects, or foreground elements using brushes or masks for precise control. Finish with sharpening, noise reduction, and subtle vignette to draw the eye. Repeat this order for consistent results across hundreds of images from a single trip. Always work nondestructively so you can revisit earlier decisions without losing quality.
Color Grading for Iconic Destinations
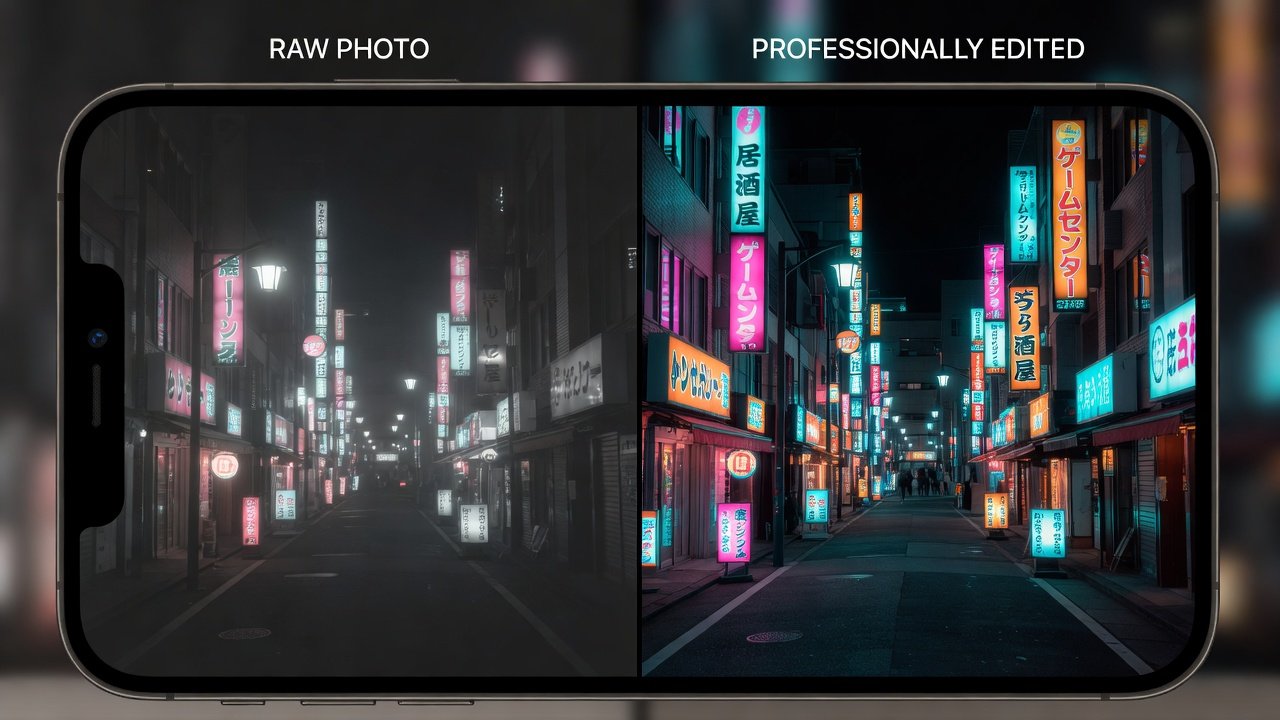
Tokyo shots benefit from cooler tones and subtle teal shadows to highlight neon lights against night skies while keeping skin tones natural. Paris images gain warmth in highlights and soft contrast to evoke golden-hour romance and the timeless elegance of its architecture. New York photos often use punchy saturation and deep blacks for urban energy that captures the city's vibrant pace. Test these palettes on sample images from each city to develop signature styles that travel well across your portfolio. Adjust hue, saturation, and luminance sliders individually for reds, yellows, and blues to match the unique color stories of each location without over-processing.
Batch Processing Tips for Efficiency
Apply presets across similar lighting conditions first so one master edit propagates to dozens of similar frames. Use sync features to copy edits from one photo to an entire album with a single tap. Queue exports overnight when traveling so your phone works while you rest. Review batches in small groups to catch outliers that need individual tweaks. These methods cut editing time dramatically on multi-day trips where you may shoot hundreds of frames daily.
Free Versus Paid Tools: Making the Right Choice
Free apps suffice for most social media needs with solid core features and no recurring cost. Paid subscriptions unlock professional masking, AI-powered tools, and cross-device access that justify the investment for frequent travelers who value speed and consistency. Evaluate your output volume and desired quality level before committing to any paid plan. Many apps offer generous free trials, allowing you to test advanced features on real trip photos before deciding.
Export Settings for Social Media Versus Print
For Instagram and other platforms, export at 1080 pixels on the long edge in sRGB color space with moderate compression to balance quality and file size. Print-ready files need 300 DPI, full resolution, and Adobe RGB when possible to preserve dynamic range. Always keep master files in original format before final exports so you retain maximum flexibility for future uses. Test prints at local labs to confirm your mobile exports translate correctly to paper.
FAQ: Common Mobile Editing Mistakes Travelers Make
How do I avoid over-saturation? Reduce vibrance sliders gradually and compare against the original often, stepping away from the screen between adjustments.
Why do my edits look different on different phones? Calibrate your display brightness and color temperature, then preview final files on multiple devices before uploading or printing.
Is batch editing always better? Use it for similar shots only; unique images with special lighting deserve individual attention to avoid losing their distinct character.
What about storage limits on long trips? Regularly archive older trips to external drives or cloud folders to keep your phone responsive and prevent editing slowdowns.
Should I edit in portrait or landscape mode? Landscape mode on larger tablets offers more precise control for detailed masking work when available.
How often should I back up during travel? Daily automatic syncs combined with weekly manual checks provide the best protection without constant manual effort.
Conclusion
Streamlined mobile editing workflows turn travel photography into a seamless part of your journey rather than a post-trip chore. Implement these checklists, sequences, color strategies, and export rules to produce professional results quickly while protecting every memory. Your future self will thank you when the images from Tokyo, Paris, and New York look consistently stunning across all platforms.
No comments yet. Be the first!